How to Plant Your New Free Tree
Right tree, right place.
Congratulations, you decided to plant a new tree! Depending on the species, trees can live for a few decades and up to a few centuries. So choose wisely! Before you dig, do research on native trees to determine the location that will provide the most benefits for both you and your leafy friend. Go outside and take a look at your space. Think about the expected height/spread and lifespan of your tree. Consider the sunlight and soil conditions. Make note of overhead power lines, low areas where rainwater collects, nearby pedestrian right of ways, etc that might impact its health. This is an important, long term decision, so take your time.
When to plant?
In this region, tree planting season occurs in the spring (April-May) and the fall (October-November). For best results, keep an eye on the weather and pick a day to plant when soil is moist but not soggy.
Avoid planting during the summer months! Young trees go into shock upon being transplanted, and any additional stress from hot weather and drought can cause long-term health issues.
Before you dig, call 811 to avoid disturbing any local underground utilities.
Tools & Supplies
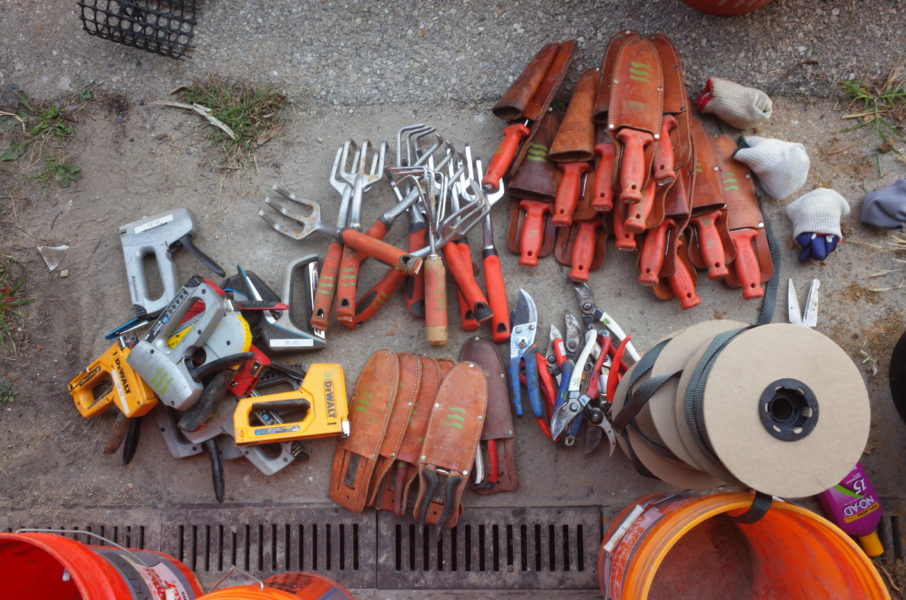
Helpful tools and supplies include:
- Work gloves
- Work boots
- Shovel (spade)
- Hard rake
- Hand rake
- Soil knife / cutting tool
- Pick axe / mattock
- Stake pounder / mallet
- Tree tie / rope / string
- Tree stakes
- Deer fencing (if applicable)
- Mower guard (to protect the base of the trunk)
- Water supply (hopefully there is a hose spigot near by)
Let’s get digging!
If you are a visual learner, scroll to the bottom for a How-To-Plant video by our partners at TreeBaltimore.
Hole size & shape. Your new tree most likely arrived with its roots (rootball) in a plastic pot. Occasionally, nurseries also sell trees in a cloth grow bag, a burlap sack with a wire cage (called ‘ball & burlap’), or ‘bare root’- without any soil at all. Regardless of the type of nursery stock you have, the planting hole should be at least 2-3 times as wide as the root ball. Your hole should have straight sides and flat, firm bottom so that water does not collect underneath the roots.
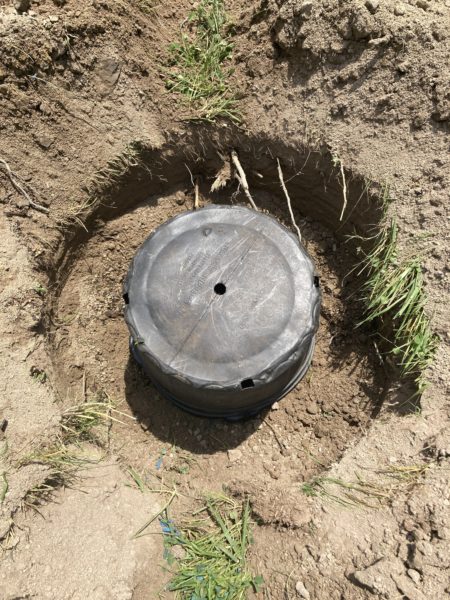
Photo: Planting hole should be at least 2x as wide as the rootball to allow for easier root penetration into the surrounding soil.
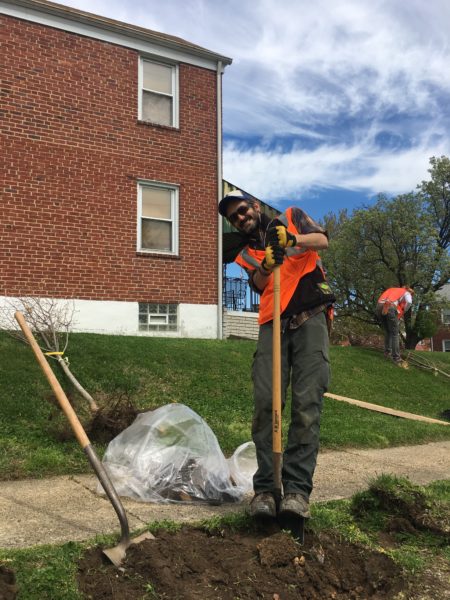
How to use your shovel. Your legs are much stronger than your arms. Take advantage of gravity and send your body weight into the tool. Push your shovel into the ground with your foot and pry up the soil. Jump on your shovel if you feel comfortable.
Remove grass first. If you are planting in a grassy lawn, pry up the sod first. Chop it into smaller pieces and set these clumps aside in a separate pile from the rest of the soil for now.
Remove soil. Our local soils in Maryland are clay-heavy and can be dense to dig in. In urban areas, the soil is often even more difficult to penetrate due to compaction from development. Delicate tree roots have difficulty entering a solid wall of clay and rock, so be sure to dig a wide hole to allow for root growth. Note: Place your grass & soil piles close to the hole for easier access and don’t step on them or compact them. This makes your job easier later on.
Set aside rocks or debris that are larger than your fist. Put these in a pile with your grass for now. Note: If you’re having trouble digging, try a pick axe or mattock to break up rocks and clay.
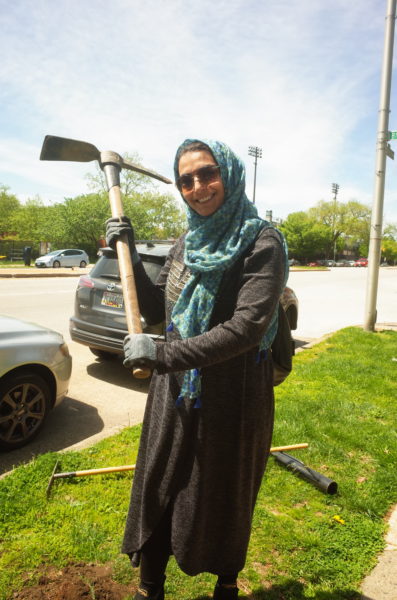
Photo: Allow the weight of the tool to do the work for you like this smart volunteer at a planting in Bishop Square Park!
For maximum power, start with your hands wide apart on the handle and your dominant hand on top. As you swing, slide the dominant hand down until your hands meet at the bottom of the handle.
Remove tree from container.
- Plastic pot: Pull the base of the tree trunk gently while holding the container. If it’s not budging, turn the pot on its side on the ground and press gently with your hands or knees. This will loosen the root ball. If roots are growing through the holes at the bottom, you may need to cut the pot.
Loosen circling roots. When a tree is grown in a plastic pot, its roots try to grow outwards but hit the inside of the pot and begin to form overlapping circles. These roots must be teased out and redirected before planting, or they will continue to circle in the ground and eventually girdle the tree. Use a hand-rake or your fingers to gently pull root tips outward to encourage growth. This may take several minutes if the tree is very “root-bound.” Sometimes, a tree may be so root-bound it must be cut into 4 sections with a soil knife. Sometimes, there are very few roots and the ball will simply fall apart when you remove it from the pot. Either way, be gentle as this is a stressful time for your new tree.
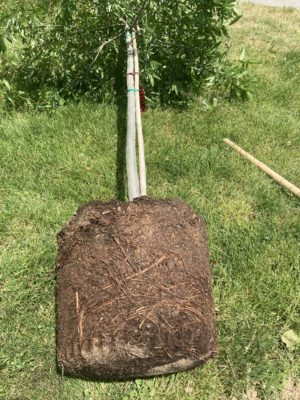
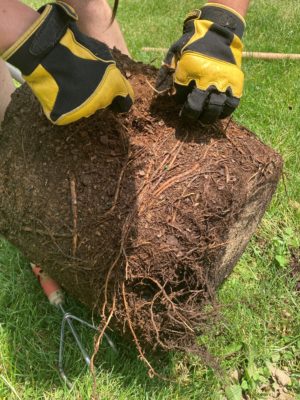
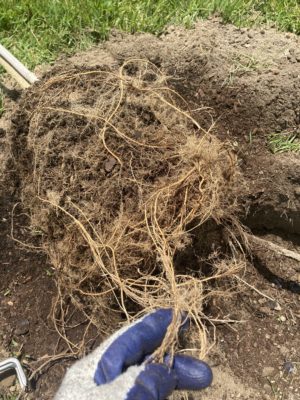

Photo: The process of loosening circling roots on a containerized willow oak
Show me your root flare! Determining hole depth.
Find the root flare. The ‘root flare’ is the area at the base of the tree where the trunk flares out or grows wider. This flare can be more apparent on some trees than others. If you are having trouble finding it, look instead for the topmost root extending off the trunk. The root flare is an important site of gas exchange for the tree and should remain unobstructed by soil.
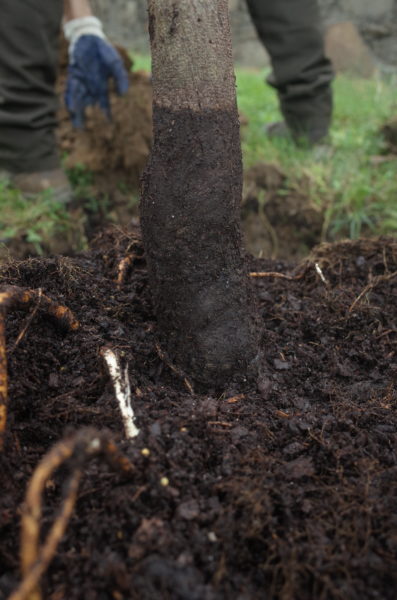
Photo: A Eastern redbud with a buried root flare that was discovered by Blue Water Baltimore staff before planting.
Prolonged moisture against the trunk leads to decay & disease.
Determining depth. Figuring out the correct hole depth is key to a tree’s survival. A properly planted tree should have a visible root flare above the ground. The topmost roots should be covered with soil. Exposed roots can dry out and cause stress for the tree. To determine correct depth for containerized trees, use your shovel handle as a guide to measure across the top of the root ball. Add or remove soil until the top of the root ball is level with, or slightly above, the ground. Remember, better to plant 1” too high than 1” too low because the tree will naturally settle when it is watered.
-

- Photo: Shovel as a measuring tool. Hole depth is the ‘Goldilocks’ of the tree planting process: Not to high, not too low, juuust right!
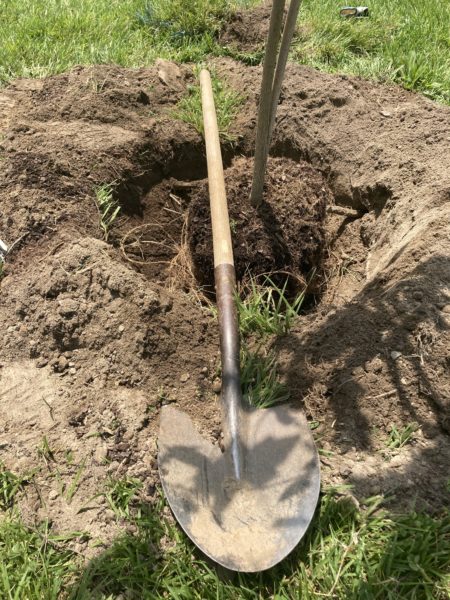
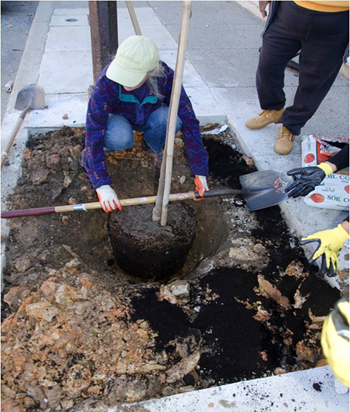
Photo: Take the time to double check the depth before back filling soil.
Time to fill ‘er in:
Place the tree upright and centered in the hole. Have a friend hold it up straight. Start to back fill with your native soil. If you’d like, you can mix in some organic compost or Leaf Gro from your local garden center – about 1/3 bag per tree. This is not necessary for most sites, but can help if the soil quality is poor.
As you back fill, break up any clumps of soil, and use your feet to tamp down lightly. Note: Do not step on the root ball, only around the edge. If the soil is not tamped down, the tree will be unstable and can fall over. Use a rake to clean up the surrounding area of any excess soil.
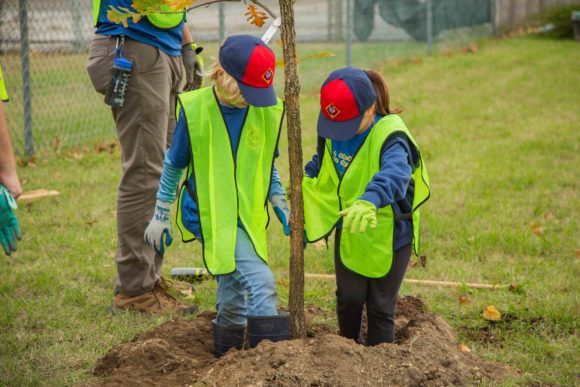
Photo: Two young volunteers gently tamp soil as the hole is refilled. This is also called the ‘tree dance’ 🙂
Protect the trunk. As you are working, be aware of sharp tools cutting or nicking the trunk. Wounded trees never heal – they merely compartmentalize, or block off, the injured area. Young trees that have just been transplanted are often already in stress mode, and additional wounds can cause long-term health issues.
Grass ring. Place grass clumps upside-down in a circle around the edge of the hole. Grass can compete with trees for much-needed water and nutrients. It is better that grass does not grow back directly around the tree. Plus, the dying grass will form a berm and hold water over the roots.
Rock ring. If you unearthed any large rocks, you can use them to make a decorative ring around the disturbed soil.
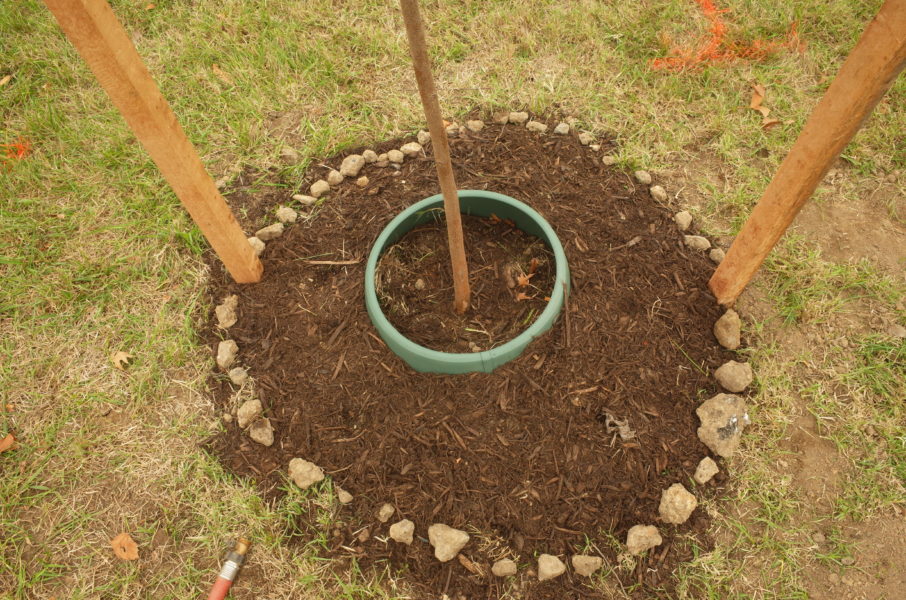
Mulch donut. Apply a nice helping of mulch 2-4” inches thick over the disturbed area. Do not pile the mulch against the trunk of the tree – again this blocks important gas exchange at the root flare and leads to bark decay! Think mulch donut, not volcano. Mulch is made of wood-chips. It retains moisture and delays weed growth, but if applied improperly it can kill a tree. Reapply seasonally as needed. Check out our mulch madness blog more more tips!
Remove plastic tags from around the trunk or branches. They might restrict growth.
Water your tree!
Water your tree immediately after planting. Slow drip watering is best. Continue routine watering to simulate an inch or two of rainfall per week from March-October to ensure long-term survival. Weekly summer watering for the first 2-3 years after planting is the most important factor for young tree survivability. For more details, we highly recommend checking out our watering blog.
Stake your tree
Depending on site conditions, you may want to stake your tree. We recommend staking if one or more of the following is true:
- 1) the tree is very small and could get run over by a lawn mower.
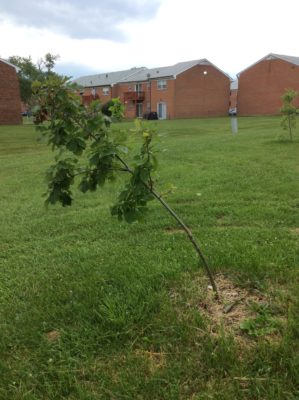
- 2) the tree has what we call a ‘lollipop’ form – it is top heavy and leaning with a thin main trunk.
- 3) deer are present in your space. Deer eat the leaves of young trees and rub their antlers on the trunks. To protect your tree, install 3 stakes in an equilateral triangle with the tree at center, then add fencing around stakes.
- Photo: This ‘lollipop’ tree is leaning and needs stakes to hold it upright.
- Note: If possible, do not prune lower branches from young trees. Low branches support trunk width growth & stability.
Insert stakes at least 1’ into the ground and roughly 2’ from the trunk on either side – just outside the disturbed soil/ mulch ring. We use a stake pounder, but if you don’t have one, a mallet will do.
Safety tip: When using a stake pounder, never lift the tool over your head. Keep your head up as you pound. Go slow and let the weight of the tool do the work for you.
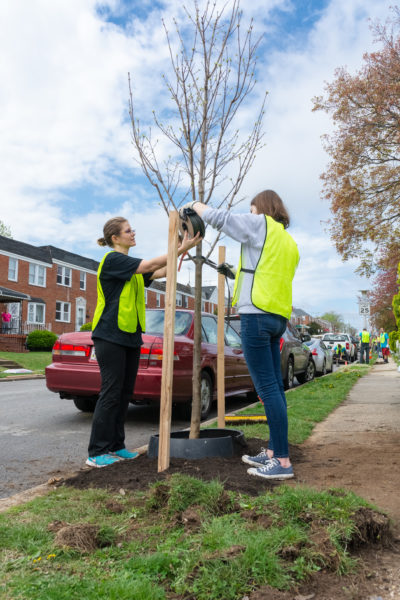
Tie the tree to two stakes, preferably in the top 1/3 of the tree trunk above a branch connection so the string doesn’t slide down the trunk. Wrap the tie around the trunk first and then tie it to the stakes. You can also staple the tie to the stake to keep it from sagging.
The tie should be taut but not too tight, allowing the tree flexibility to blow in the wind. Tight ties can lead to girdling and lack of root growth if not properly maintained.
-
- Photos: (Left) Volunteers tying a tree to two stakes along a street.
- (Right) Use 3 stakes and fencing to protect young trees from deer antler rub.

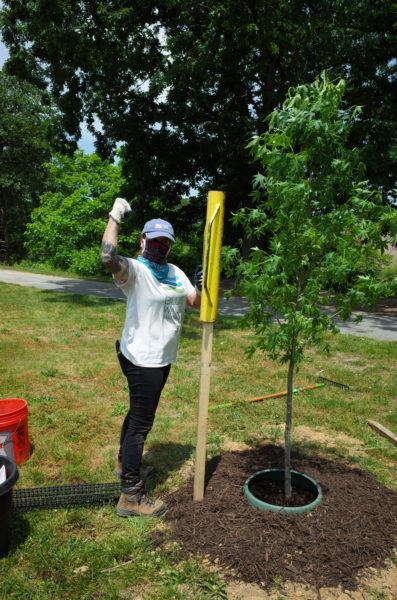
Protect your tree
Install a plastic mesh mower guard around the base of your tree. Most trees are planted in grassy areas where weed wackers and lawn mowers damage the trunks. These wounds can shorten a tree’s lifespan or kill it outright. If you aren’t the primary lawn care specialist at your home, then installing this protection is vital to the health of your baby tree.
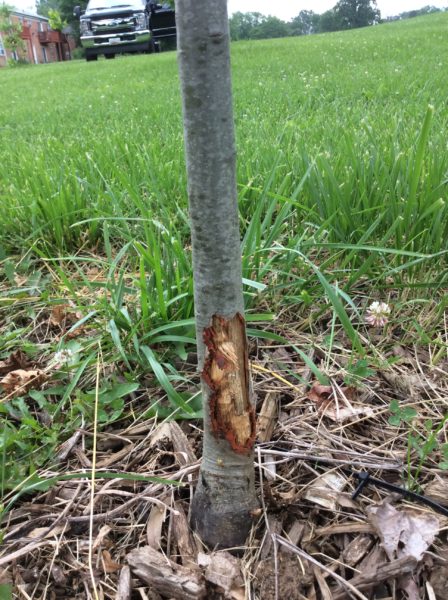
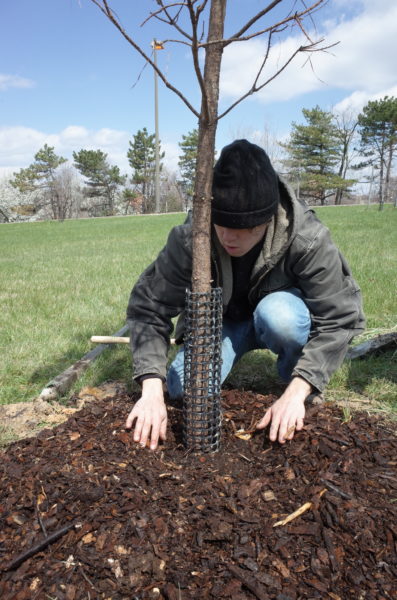
- Photos: Left – weedwacker damage on an unprotected oak tree. Right – Mower guards & mulch rings are a life saver!
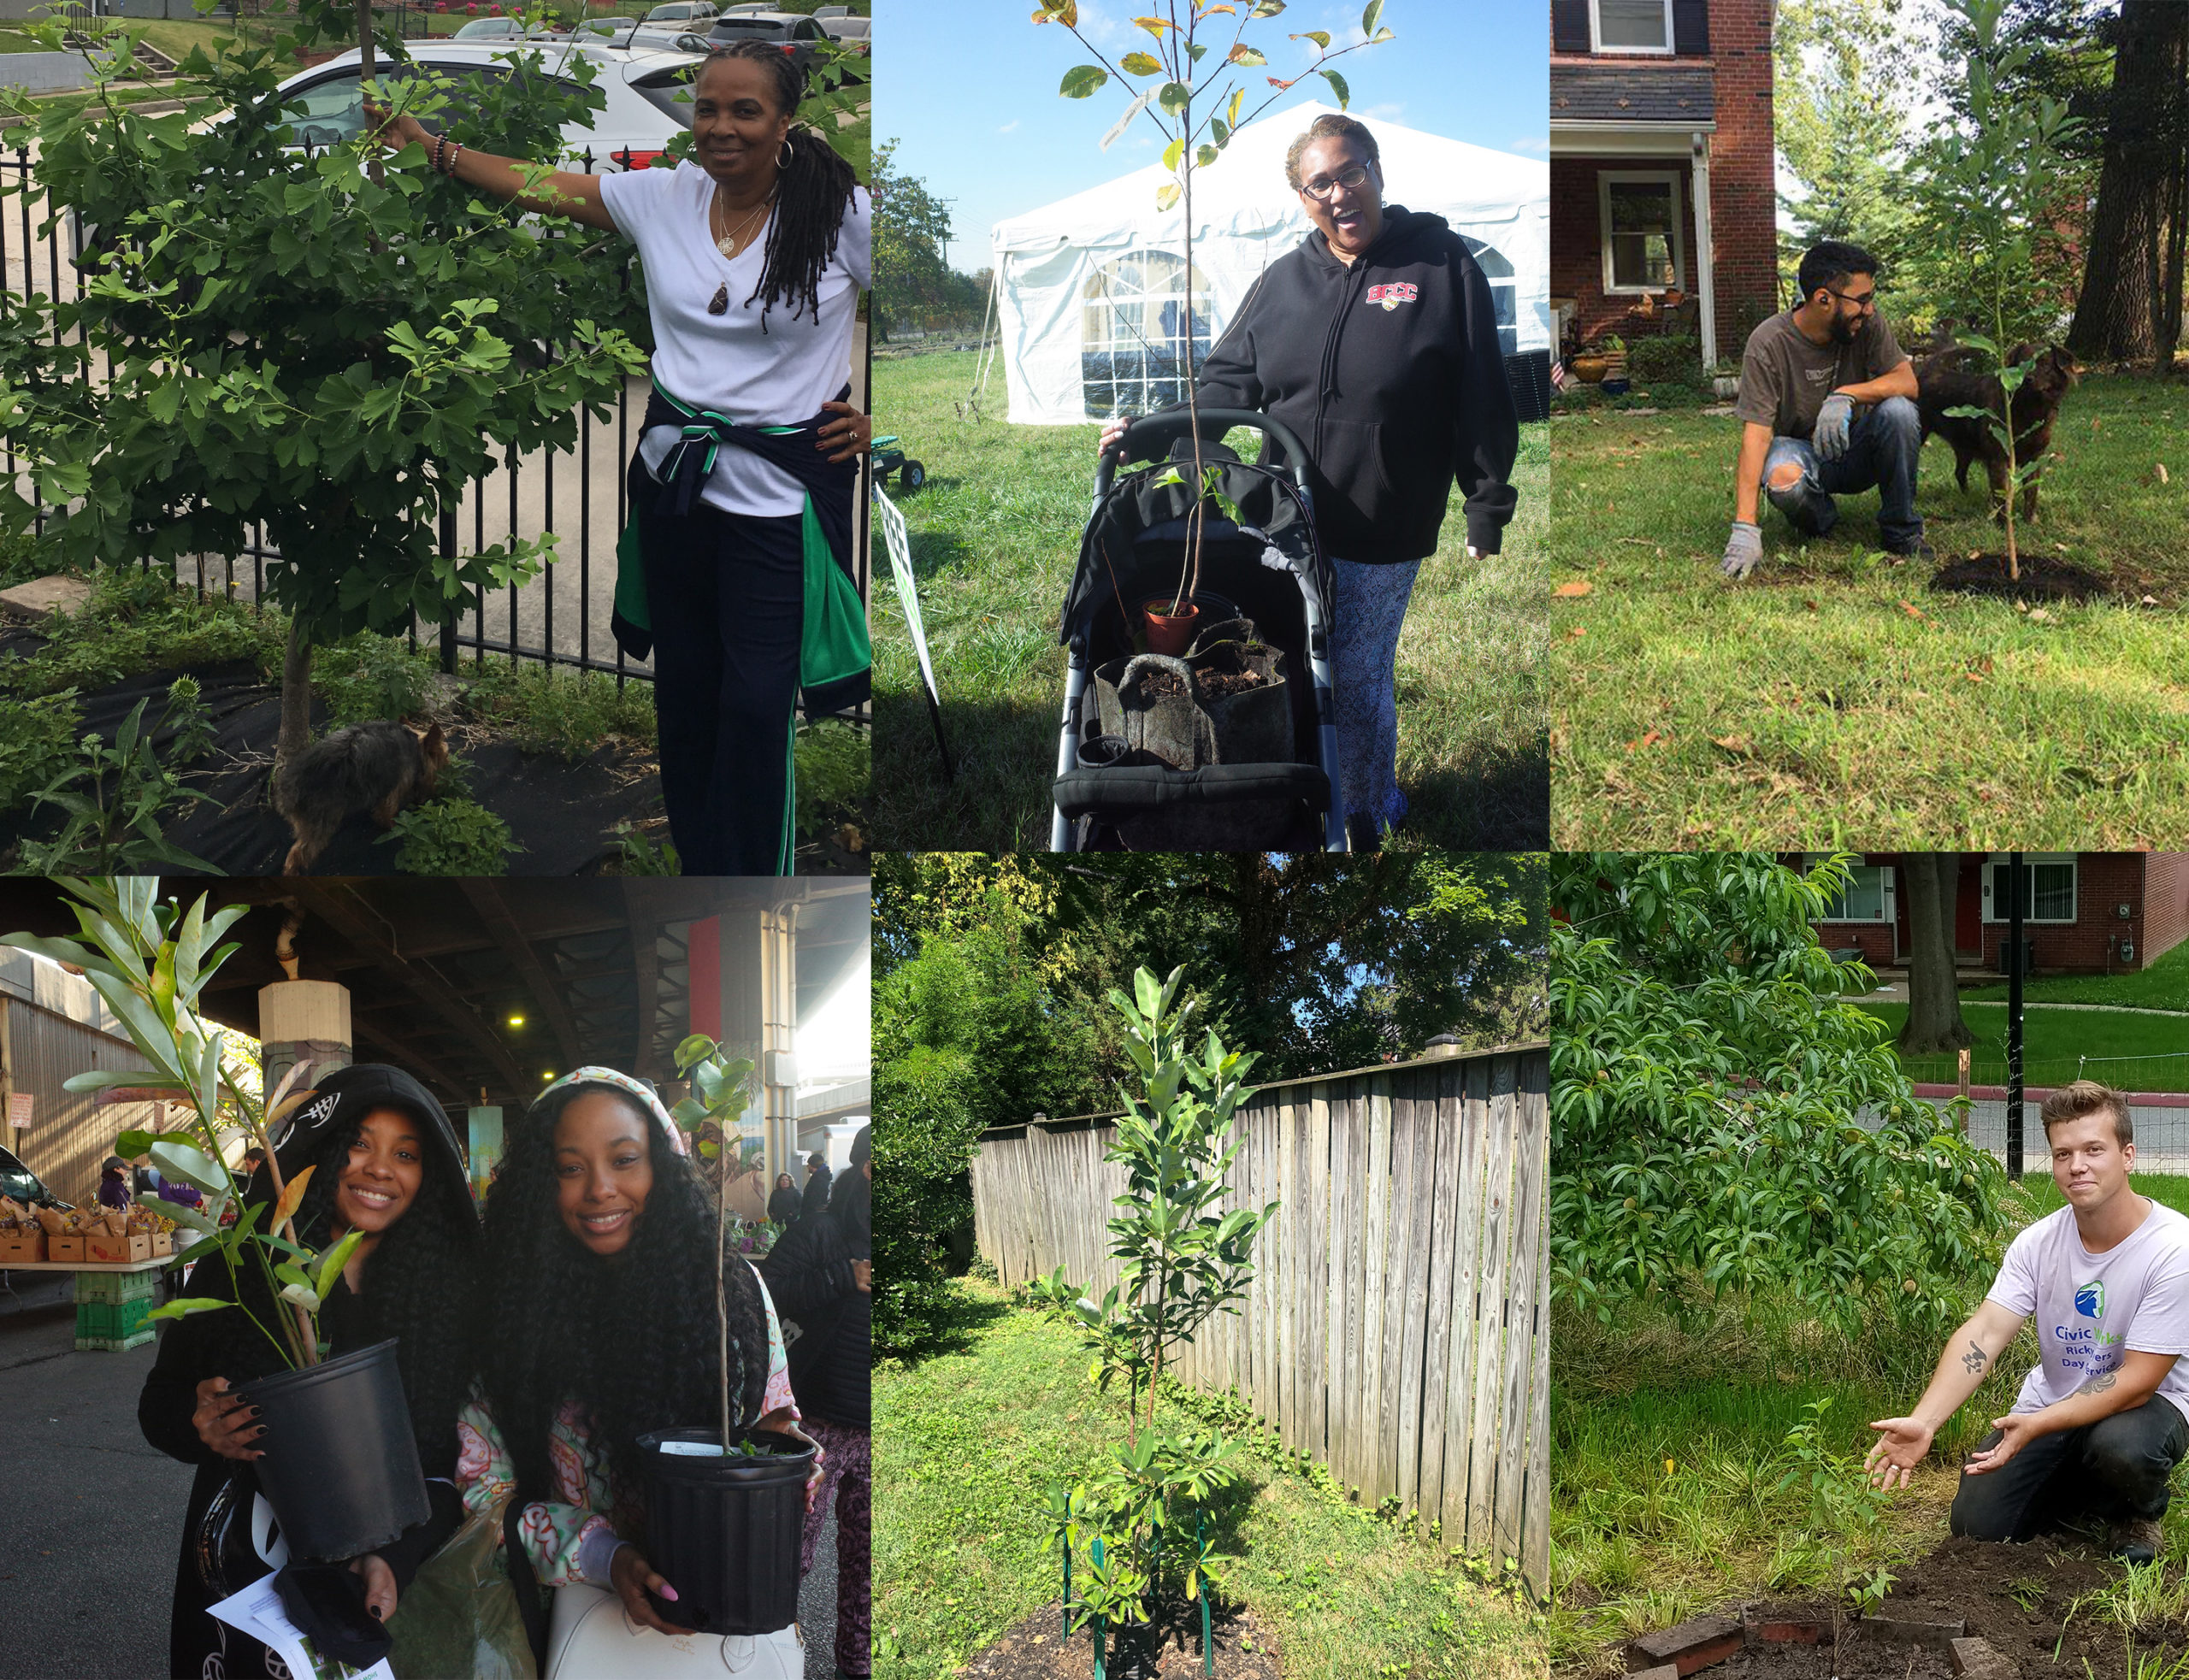
Sit Back & Enjoy!
Your new tree will improve your green space as well as your local community and the wider environment for all residents – both human and animal. It has a lot of work to do – cleaning the air, slowing down and filtering water, providing habitat, fruit, flowers and beauty – so be sure to give it an extra hug (& some water and mulch!) once in a while.
Tree planting is best when done in community so be sure to invite all your friends to join you.

Finally, check out this great how-to-plant-a-tree video from our favorite partners at TreeBaltimore:
We want to see our canopy grow!
Take a photo of your new tree & share it on social media. Tag us!
@bluewaterbmore and @treebaltimore
If your tree is planted in Baltimore City, please register it online at treebaltimore.org/resources